Tuesday, November 29, 2011

Onward: Polychrome Coif, Beginnings

For my next project, I have decided to create a polychrome coif, in part to have done the "trifecta" of late 16th century English embroidery: Monochrome, Polychrome, and Sweetbagges.

I have two main inspiration pieces: 1967-125-1, from the Philadelphia Museum of Art, and 64.101.1258, from the Metropolitan Museum of Art. I have been fortunate enough to view both of these in person, and they represent the style I most enjoy- lots of flowers and bugs, with gilt braid vines.

Below are some sample motifs I've drawn to use on the coif. I've selected motifs prevalent in many of the polychrome examples I've looked at. There's a gillyflower, honeysuckle, rose, lily, and violet, along with a strawberry, peapod, butterfly, snail, and bird. Each motif measures about 1.75 inches square, which is taken from the Met coif motif sizes.

I need to put these on the coif pattern and arrange them. Although the Philadephia coif repeats on the x-axis, the vast majority of coifs are symmetrical along the y-axis, so I will keep the common, common, and make mine bilateral.

Adventures in Smocking

I have long loved the look of really good smocking, but I've always been intimidated by the pleating involved, prior to the actual embroidering of the smocking. After a conversation with Baroness Rainuillt at Pennsic (who's smocking leaves everyone else in the dust!) I decided to give it a try. Her Excellency recommended that instead of marking out all of my pleats ahead of time, I "eyeball" it, and do parallel rows of running stitches. This seemed to turn out fairly well.

Making the pleats:

Halfway through:

Finished!

I used a 3.5 oz linen ground fabric, and the smocking is done with 120/2 linen thread. I put a waistband on it, but I have yet to wear it!

This gave me my eighth competency for Athena's Thimble. This is a very simple honeycomb smocking- while working on this piece, I came across some much more ornate designs, with banded rows being worked in different stitches. Maybe next time!

Finished Sweetbag!

Wow, it's been a looonnnnng time since I've updated! Pennsic came and went, and it was Good, and then the semester began, and it's been a bit busy.

Here are pics from the finished sweetbag:

Side 1:

Side 2:


The edges are covered with a 5-strand fingerloop braid, and the handle is a 7-strand braid. I chose to use multicolored braids after examining several extant bagges. To be properly finished, this bag also needs a drawstring, pulls and tassels. I just haven't had the stomach to do that- it means punching holes through my embroidery, and I just haven't the heart. ;)

It's lined with a carnation silk- I didn't have any grosgrain silk available, so I tried to keep the color consistent with historical examples.

I have noticed that the bagge has begun to "torque" a bit. This is in keeping with extant examples- one of the side seams is clearly visible in the pictures, and one is twisted slightly behind. I'm supposing this is due to the z-twist action of the Elizabethan ground stitch, which pulls the ground fabric slightly to the left as it is being worked, even while on a frame.

Friday, July 1, 2011

Pennsic Updates

The sweet bag is nearing completion- a shortfall of materials had me on temporary hiatus.

The finished sweet bag, blackwork coif, and work-in-progress polychrome coif will be on display during the A&S display at Pennsic XL, on Monday of War Week, in the Barn. I'm in the East Kingdom, so I will be in the rows nearest the door, unless they change that.

I am also teaching two classes:

16th Century Monochrome Embroidery, aka "Blackwork". This class will offer examples of late-16th-century English monochrome embroidery, also known as "blackwork". We will examine some extant examples through pictures, and then move on to specific techniques of blackwork, including counted and uncounted forms, outline stitches, and fills.

Tuesday, August 9, 2:00 PM, AS 08

and

Late-16th-Century English Polychrome Embroidery. This class will focus on late-16th-century English polychrome embroidery. We will look at extant examples, and then identify specific techniques/characteristics in its creation. We may also
spend some time working on the most common stitches, detached buttonhole and plaited braid.

Wednesday, August 10, 10:00 AM, AS 08

There is no charge for the classes, and I will be providing some supplies.

Hope to see you there!

Tuesday, May 3, 2011

The hunt begins...

Work on the Sweet Bag is on a temporary hiatus: with Side One done, I displayed the work-in-progress at the East Kingdom's Southern Region War Camp last Saturday, and I will display it again this Saturday at Crown Tourney, as part of the Athena's Thimble Guild display.

So that leads me to consider my next project. After viewing two polychrome coifs in person (one at the Philadelphia Museum of Art, the other at the Metropolitan Museum of Art) I have decided that is my next project. Plus, I decided to teach a class on these at Pennsic, so it's good to begin planning.

Whenever I decide on a new project, I spend copious amounts of time finding as many extant examples as I can, whether in books, online, or in person. I think this is a crucial step: if I don't know what they actually look like, how can I possibly create a realistic copy? Understanding how many paillettes to add, how many colors to use in a motif, what kinds of stitches, how big a motif, how close are they placed together, what kinds of motifs are all extremely important questions. For instance, it would seem that the polychrome coifs are symmetrical on the y-axis. However, the Philadelphia coif is symmetrical along the x-axis.


So I have some more "seeing" to do, and then I can begin to design my own. I'm going to do detached buttonhole with soie perlee (although, Mistress Briony thought that soie ovale might make the smaller detached buttonhole stitches- the difference between spun and filament silk) because I have 30 spools of it in coordinating shaded colors, bought specifically for this project. This was before the aforementioned conversation, so the next project might use soie ovale. I will also use silver spangles, because I have lots of them in a small size, and gilt passing thread in a plaited braid. I do so love doing plaited braid!

"Seeing with a period eye" is something I'm still training myself to do. I think it's critical to be able to really understand how something was made, and that means really being able to look at the object and put it together. I'm not quite there yet, but I'm working on it. :)

Tuesday, April 26, 2011

Side One is DONE!

This is my completed side one. It will be on display this weekend at Southern Region War Camp (East Kingdom), along with my documentation. I will gladly accept feedback, as always. I'm very happy with how my plaited braid turned out, and once I got past my learning curve, it went very quickly and smoothly.

I may need to fill in some of the ground closer to the plaited braid- I want to go back and examine some extant pieces and see how close the ground comes to the braid. I also plan to make my braid channels a bit narrower on the second side, so I won't need to "go back" and fill so much.

Tuesday, April 5, 2011

Metal Threads

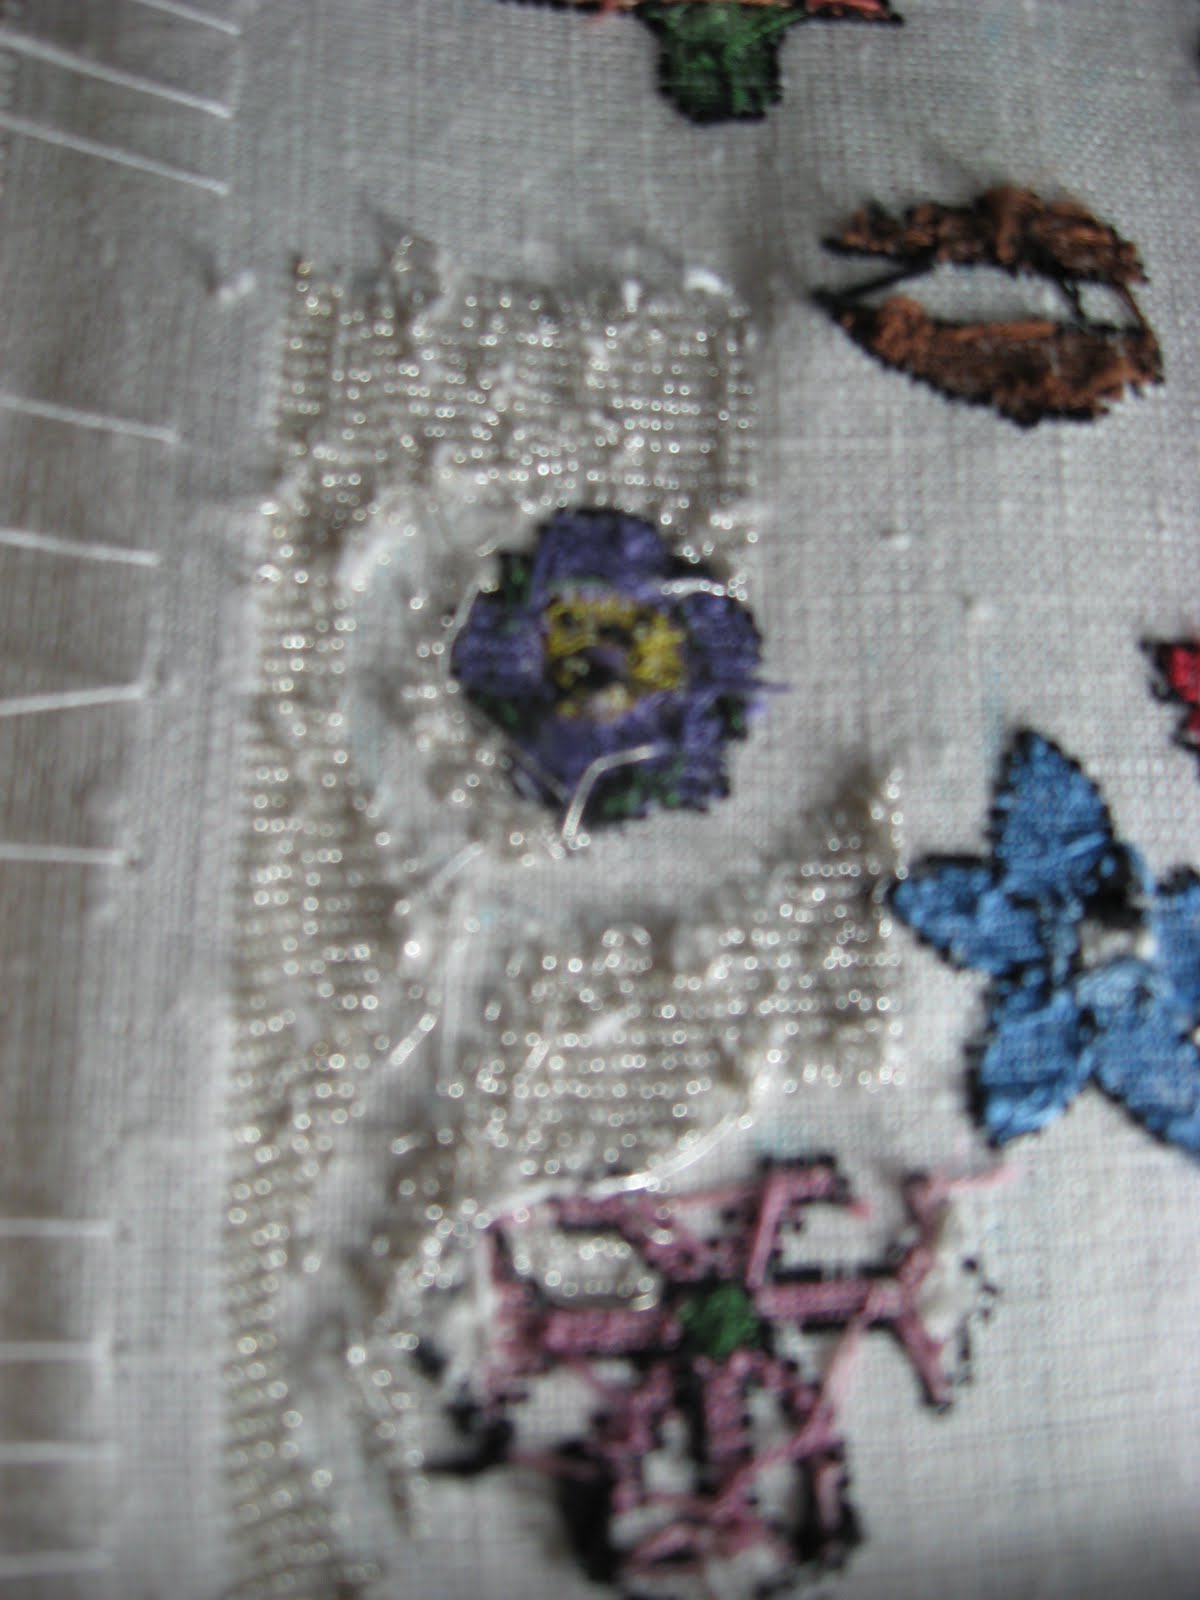
Working with metal threads has been an interesting experience. They are quite finicky. I'm using No. 4 silver passing thread for the ground of my bag, done in an "Elizabethan Ground Stitch", as advocated by Jacqueline Carey, in her Sweet Bag Book. She points out that this is the most common stitch on the bags she has observed, and, indeed, there is a clear difference in the amount of metal thread visible on a side, so it makes sense that this stitch would be used, as it would allow for the least amount of "hidden" expensive metal thread.

Right side:

Wrong side:

I'm working with a brass needle, made by my husband. This has a punched eye, which is much kinder on the metal thread than the stamped eye of a commercial needle. (The steel needle sticking under the threads is used when I need to fix a mistake and pull out metal threads, rather than bend my brass needles).

The ground stitch is very soothing to the eye, although mistakes are obvious. It's worked 1:4, and then loops behind for 2, similar to a stem stitch.

Side Two!


For side two, I decided to use the darker red thread on the rose. I'm not totally happy with it- I might have preferred sticking with the "rosier" colors on side one. I also did the pink in shades of peach, which I do like. I also added a small hillock at the bottom of each side, for my plaited braid to "root" into. After examining some extant pieces in person at the Met, I might have made the hillock in shades of green, but I don't think it looks terrible. I suppose I could pull everything out, but that petit point is TINY, and I can always experiment on my next one. ;)

Monday, March 14, 2011

Side one


I completed the colored embroidery on the first side of the sweet bag. I now know why the sides on extant bags tend to vary from each other- without counting, it's impossible to make things exact, plus, I may alter the shading on the second side, and some colors. Artistically, I'm mostly pleased, although I don't feel the rose is a vibrant, so I will switch with the red in the pink. I will also extend out the yellow in the center of the viola, for more effect, and maybe add a lighter shade of purple for more contrast (I do have two colors of purple in there now, but they're very similar). I used floss that I had available, so some of the colors aren't as exactly precise as I might have wanted them- but it is a good experience in working with what I have, rather than unlimited colors. This seems to me more like what would happen "in period"- color choices would be more limited than what we have today.

I may add some more motifs, because extant bags seem "busier"- but my goal end size for this one is approximately 4.5 inches square, so I want to make sure I have room for the plaited braid. I'll probably draw those lines in, and then see how much room remains. I'm also stuck on what the center base motif will be. I've seen butterflies, rabbits, birds, leaves...but I haven't found one I love.

I'm using a 32-count canvas, and doing tent stitch 1:1, which makes it a petit point, and it is BRUTAL. It is so tiny, and so time-consuming! I love the overall look, but still...

Thursday, March 10, 2011

Teaching at Pennsic!

I have signed up to teach two classes at Pennsic XL this year:

1. 16th Century English Monochrome Embroidery- aka "Blackwork". This class will cover extant examples as well as techniques and characteristics that identify this art form. We will practice commonly used stitches and fills.

2. Late 16th Century English Polychrome Embroidery. We will look at extant examples, including coifs and jackets, and identify common techniques and characteristics. We may practice detached buttonhole and plaited braid stitch if desired.

Each class will be an hour long, and I requested they NOT be the same day as the A&S display, as I plan on exhibiting. I did request the 9AM- Noon spot, but we will see.

Hope to see you there!